

How to clip your dog's nails
Discover how to train your dog to have their nails clipped at home.

All dogs have nails, but many never need to have their nails clipped. Whether you need to trim your dog’s nails regularly will depend on:
- their weight
- their breed or type
- the amount/duration of exercise they do
- the type of ground they regularly exercise on – hard (pavement) or soft (grass)
- whether they have dew claws. Dew claws are the claws just by their wrist/ankle. Not all dogs have dew claws. If they do, they often don’t come into contact with the ground so will not wear down naturally and are likely to require clipping.
Adding some hard ground or pavement walking to your daily routine can be enough to keep your dog’s nails trim and mean you won’t need to clip them. But if your dog is small and light, they may not weigh enough for their nails to wear down naturally through exercise.
Bear in mind that hearing your dog’s nails on the floor does not necessarily mean that they are too long. Ask your vet whether your dog needs their nails clipped regularly.
Equipment for clipping your dog's nails
There are lots of different types of nail clippers available. Your vet is likely to have a selection and might be able to advise on different types.
Some clippers have a safety guard which protects the amount of nail clipped. There are also grinders that can be used to file down nails, but these might take longer to use and have a louder noise. If you'd prefer to use a grinder then you will need to introduce it to your dog gradually, in the same way as you would with nail clippers.
You'll also need lots of tasty treats or a licky-mat so your dog can learn to think of having their feet handled as a good thing.

Anatomy of a dog's paw
Dogs usually have four toes on each paw and some have a dew claw on their wrist/ankle too. Each toe has a nail which consists of the outer hard shell, the inner shell, and the central pink quick which contains the blood and nerve supply.
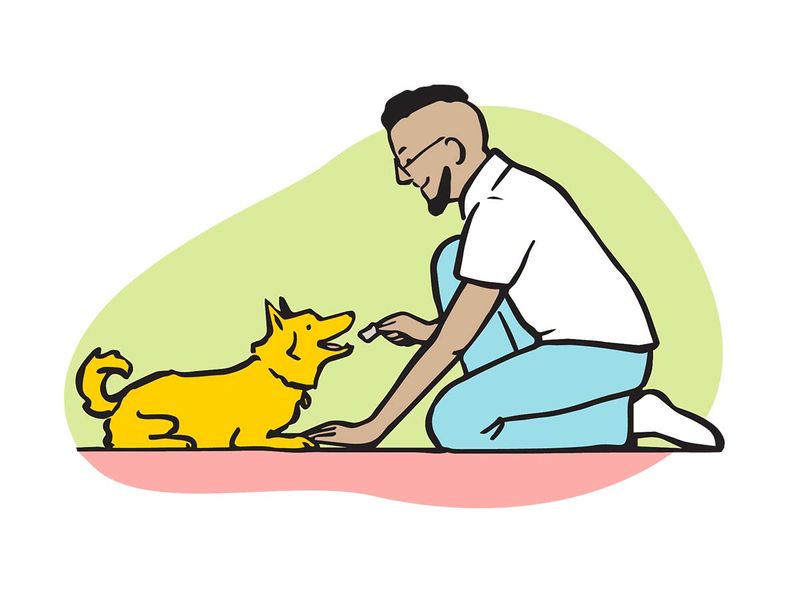
Prepare your dog for having their nails checked and clipped
- 1
The first step is to teach them not to be worried about having their paws handled
You can do this gradually, over a couple of weeks or longer if necessary, doing one step a few times a day for a few days in a row before moving on.
- 2
Go at your dog’s pace to help them feel confident and so they're not overwhelmed
If at any point your dog appears worried, stop what you’re doing and have a break. Go back to the step that your dog was comfortable with and repeat that for a bit longer.
- 3
Once your dog is happy having their nails touched, do it regularly as part of everyday life
Always pair this with a tasty treat so they learn to think of having their feet handled as a good thing.
Show detailsAlways pair this with a tasty treat so they learn to think of having their feet handled as a good thing.
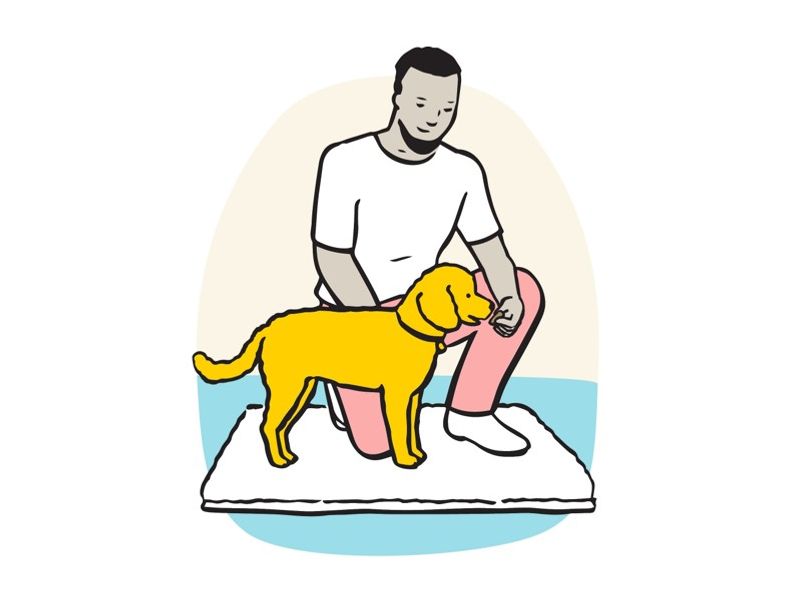
- 4
Use a non-slip surface to help your dog feel safe and secure
Carpets can be comfy, or you could use a towel or yoga or bath mat. Using a mat can also be a useful signal of what is about to happen.
Show detailsCarpets can be comfy, or you could use a towel or yoga or bath mat. Using a mat can also be a useful signal of what is about to happen.
- 5
If your dog has hairy paws they might need trimming before you get started on their nails, to improve your visibility
If the hair isn't too long, you can pull back the fur once they are comfortable with having their paws touched, to expose the whole nail.


How to check and clip your dogs nails
- Make sure their nails actually need clipping. Check how the nails look when your dog is standing. Sometimes you can see the very tip of the nail tapering to a thin point, which might begin to curve slightly — this may mean they need clipping. They might also start to become snagged on rugs and material like bedding, cushion covers or your clothing. If they are off the ground, then they probably don’t need clipping. If the nails are touching the ground gently and are worn flat, then they will not need to be trimmed either as they are wearing down naturally through exercise.
- Let your dog investigate the clippers. Put the nail clippers on the floor and scatter some treats around them. Let your dog investigate them and enjoy the treats. This will help them to build a positive association with the sight of the nail clippers before you start.
- Let your dog sniff the clippers. Touch your dog’s foot and let them sniff the nail clippers. Give a treat and praise them straight away, so the handling and clippers become associated with treats and praise. Repeat this several times.
- Introduce nail touching. When your dog is comfortable with having their feet touched, start to introduce nail touching and let them sniff the nail clippers. Give treats and praise right away and repeat this stage several times.
- Start to squeeze the clippers. Start to squeeze the clippers, so that the dog can hear any noise it might make, while touching their nails. Give them treats and praise right away. Repeat this stage several times.
- Help your dog get used to the sound. Replicate the sound that the clippers will make when cutting nails, you can practise using them on dried pasta like macaroni. The ‘snap’ noise can help your dog to become accustomed to the clipper noise. This will also help you to practise how gently you should press for the perfect nail clip. Make the noise by snipping the pasta, then give your dog their treats and praise. Hold the clipper next to your dog’s nails and clip the pasta. Give them treats and praise.
- Trim the very tip of the nail. Use the clipper to trim the very tip of one of your dog’s nails. Reward your dog with treats right away and praise them. Only trim one nail initially to get them used to the sensation. Then gradually build up to trimming more and more nails at a time, being careful not to cut the ‘quick’.
- Do the nail test. Before doing a full clip, just squeeze the clippers. If your dog feels the squeeze (pulls away, looks anxious or yelps) the quick must be inside, and you should not clip here. Give them a treat, then move the clippers further down towards the end of the nail and try the squeeze test again. Treat each nail individually, they won’t all need the same amount trimmed. Quite often digits two and five need less trimmed off than the middle digits three and four.
- Be careful not to cut the quick. When the nail is light in colour you will be able to see the internal pink quick. But the quick tapers to a point, so you won’t be able to see the tip of it. Never clip near to the quick as you could accidentally cause bleeding. Always allow a little bit of space below the point where the quick appears to stop.
- Be extra careful with dark nails. If your dog has black nails, you won’t be able to see the quick at all, so be cautious about only snipping off the very sharp point of their nail to ensure you avoid the quick altogether. You could also try shining a torch through the nail to help you see better. If you are at all worried about how to do this, consult your vet.
- Long nails. If the nail is very long and has not been clipped for a long time, be extra careful. The quick is likely to have grown longer too. Clipping this type of nail short in one go could risk it bleeding and being painful. Instead, trim a very small amount off the end, allow time for the quick to recede further up the nail (a week or so) then clip a small amount again and repeat this over a number of weeks, until the nail is short enough. Then try maintaining the nail length through daily exercise on hard ground.
- Don’t forget to check the dew claws. These are the higher nails usually found on the inside of the leg where the ‘thumb’ would be — if dogs had thumbs! They are very common on the front legs, less so on the hind legs. Sometimes, there is more than one dew claw on each leg, so it is important to check for them, especially if your dog has a long coat. Due to their position, dew claws will not touch the ground and so will not wear down with exercise. They are often slow growing, and some hardly grow at all. But these nails often catch when dogs are playing, so keeping them short is recommended. If not checked regularly, they can sometimes curl around and grow into the skin or break and feel painful.
- First aid. It can be handy to have a styptic pencil or powder available at home just in case any nail bleeding occurs. These are used to press onto a bleeding nail to stop blood flow and can be bought at a pet shop, or you can ask your vet to order one for you. They can also be used if your dog tears a nail when playing or exercising.
How often should nails be checked?
You should check your dog’s nails every couple of weeks. You will quickly get an idea of how often they need to be clipped, if ever. If you see your dog licking or nibbling at a nail, check that it is not overgrown, damaged, or causing a problem.
Your dog will do less exercise as they get older, so you should continue to check their nails even if they do not usually need trimming.
Overgrown nails
It’s important that your dog’s nails do not get overgrown. If a nail becomes severely overgrown and grows into the pad or surrounding tissue, then it is very painful and could also become infected. If the nails are splaying out on the ground, or the nail beds are being pushed upwards, or the toes are becoming distorted then talk to your vet.
If this happens, your dog must be seen by a vet. As well as giving your dog pain relief, they can consider if sedation is needed to remove the nail, clean the area and treat any infection. Left untrimmed, these might cause further damage/discomfort.
Untreated or overgrown nails could hide other underlying diseases such as arthritis and cause mobility problems. If you have any questions please speak to your vet.
Related articles

Dog dental hygiene and how to clean your dog's teeth

How to give your dog ear or eye drops
